
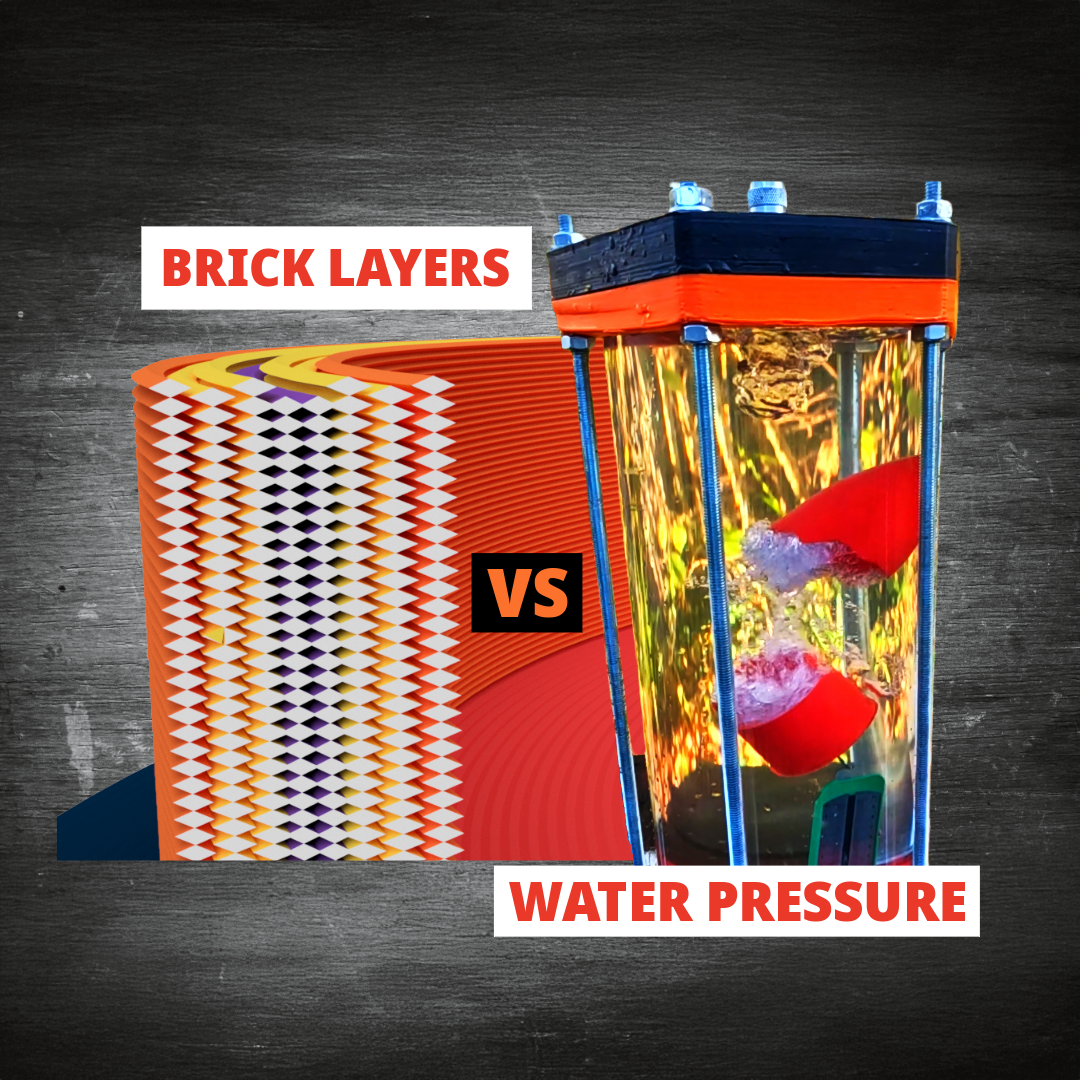
Brick Layer Printing: Achieving Really Waterproof 3D Prints
Goal: Defeating Pressure with a Slicer Setting
For the past year, my work has focused on designing and optimizing complex, submersible 3D prints—think print-in-place sea scooters and water pumps. One of the biggest bottlenecks? Achieving reliable, pressure-proof waterproofing without relying on messy, time-consuming post-processing like epoxy or chemical smoothing.
This project documents the results of my fairly rigorous testing of Bricklayer Printing (also known as Staggered Perimeters), a new technique that manipulates the internal structure of perimeter walls. The results are far better than I had hoped (full video here): A simple setting toggle and minor flow calibration allowed ASA test hulls to remain completely watertight at 4 Bar pressure (40 meters water depth), outperforming every single material, setting, and even acetone-smoothed sample from my prior testing.
The Problem: The Weak Link in Standard FDM
Standard FDM slicing stacks all perimeter layers directly on top of each other. While fast, this creates a weak horizontal seam and leaves relatively poor spatial packing between the inner and outer shells. The contact area is minimal, creating voids and weak points that are porous even moderate pressure (like 2 Bar, or 20 meters). Watch the original pressures testing video I did that compared a range of materials, printing and post processing techniques that all used standard printed layers here. Some of these test hulls took on over 200 ml of water and none of the none-post processed/coated hulls remained waterproof when subjected to 2 bar water pressure.
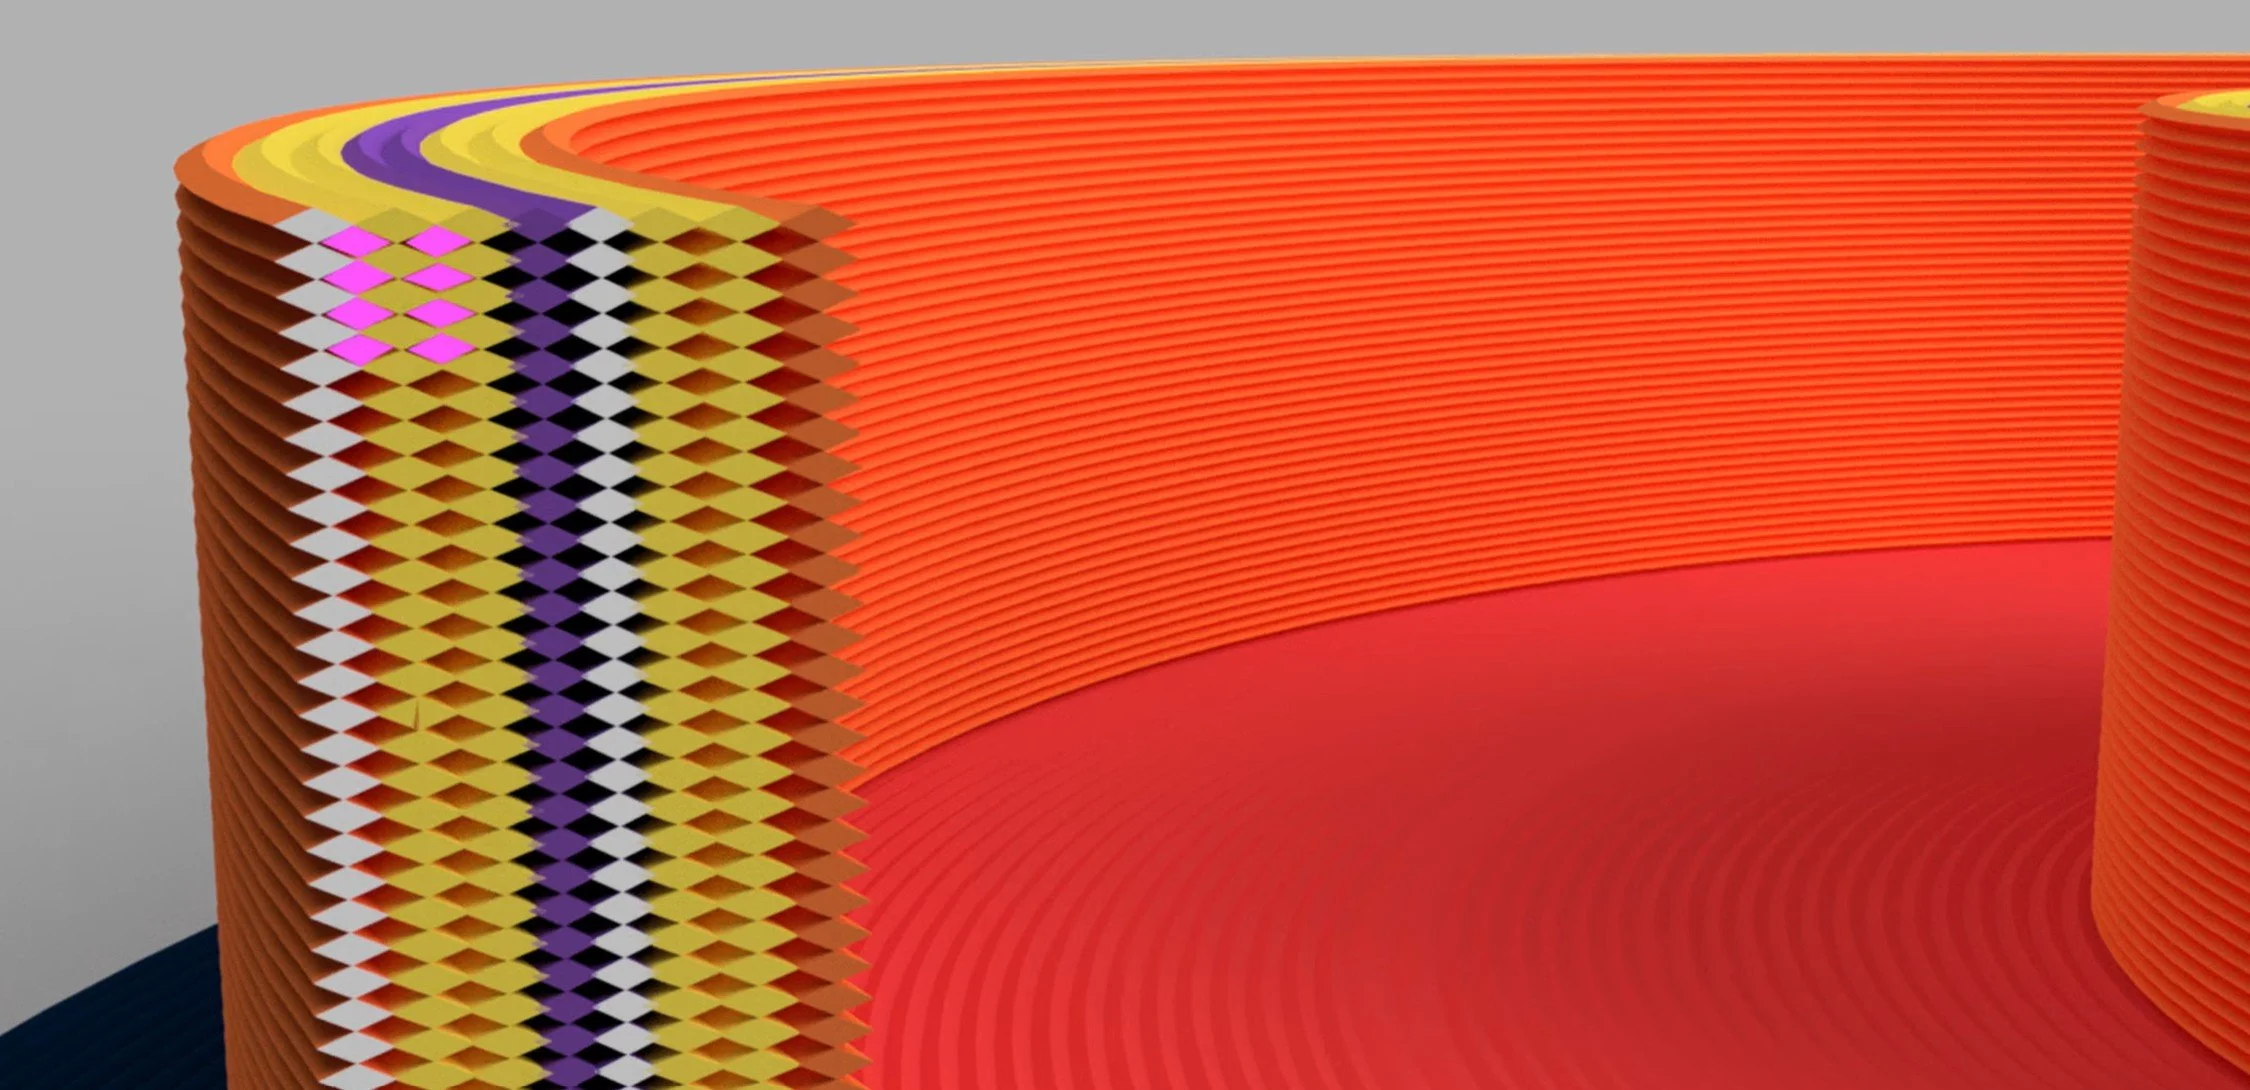
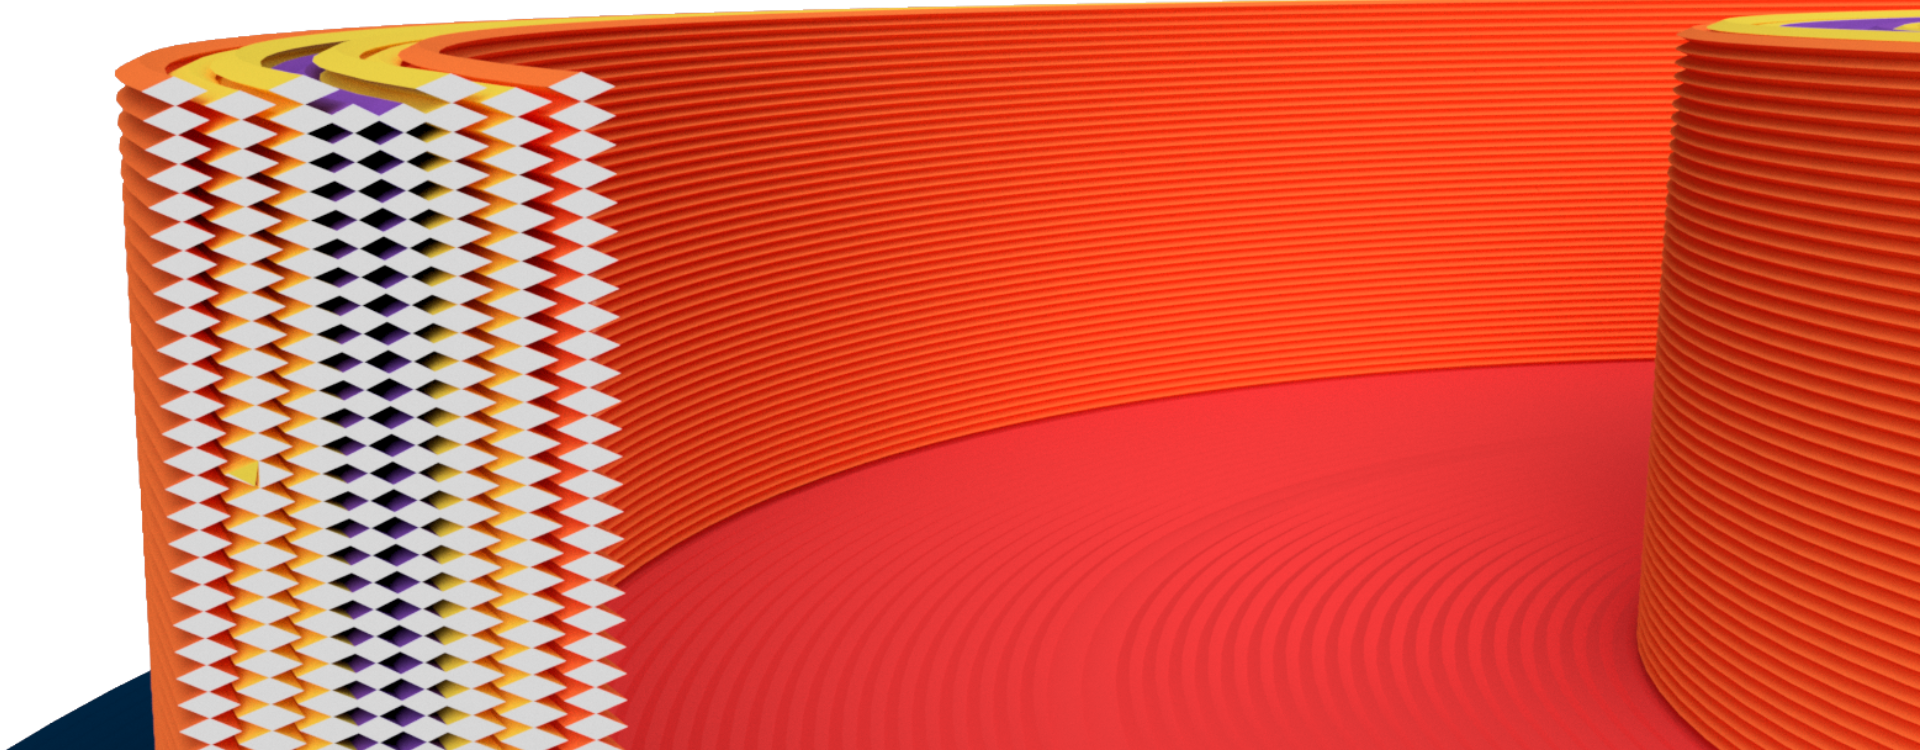
The Solution: Bricklayer (Staggered Perimeter) Printing
Bricklayer printing introduces a Z-axis stagger of half a layer height between internal perimeter shells. This simple modification results in two critical improvements:
Increased Contact Area: Just like a brick wall, the staggering significantly increases the physical contact area and packing efficiency between adjacent shells.
Removal of Weak Interlayer Surfaces: The weakest surfaces, which run straight through the entire wall thickness in standard prints, are broken up.
This approach was already shown by others (like CNC Kitchen) to improve strength. My testing proves it is the undisputed king of FDM waterproofing.
The Rigorous Testing Methodology
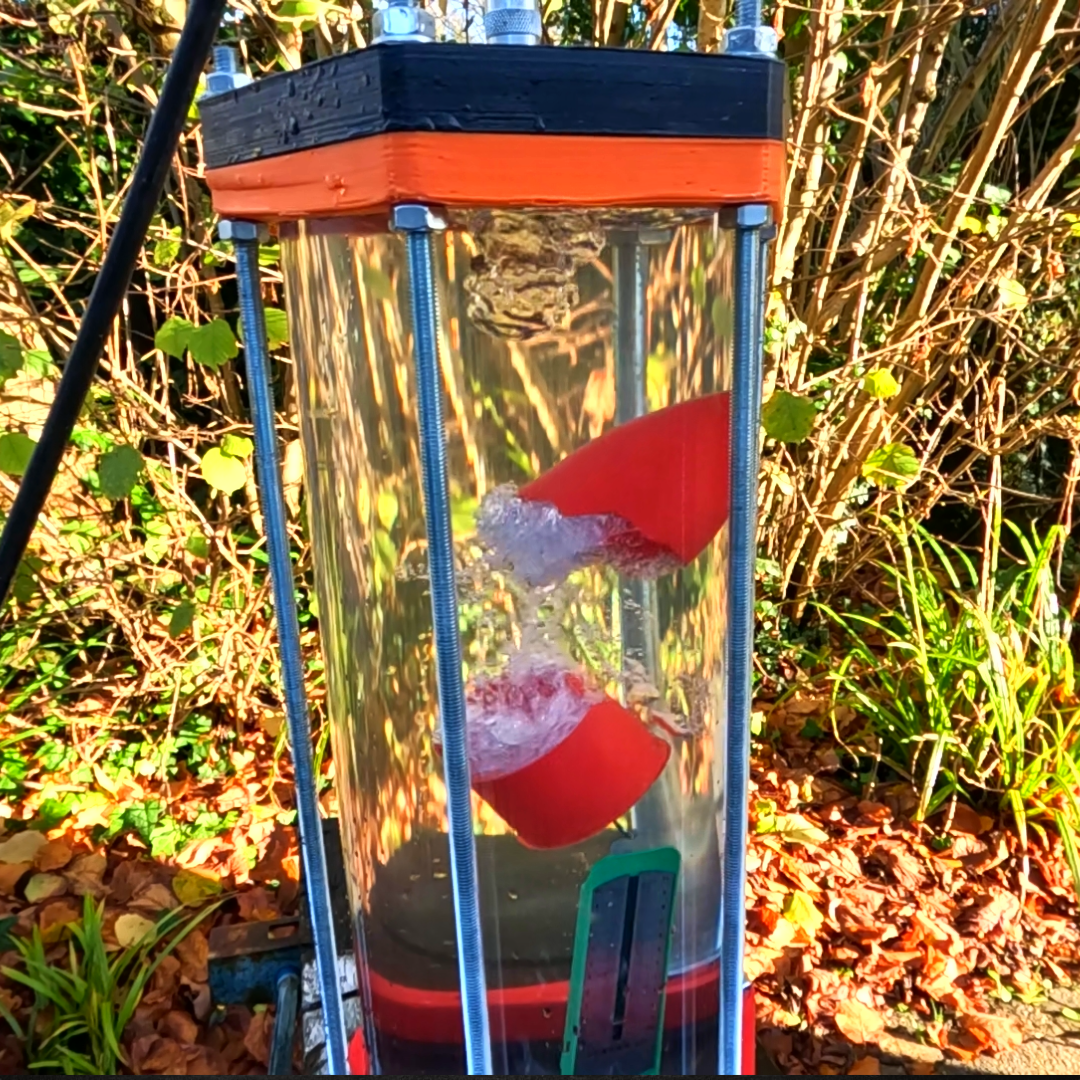
To ensure direct comparison with previous tests, I used a dedicated, pressurized test rig:
Setup: A polycarbonate tube with polycarbonate carbon fibre endcaps filled with water and pressurized with compressed air.
Maximum Pressure: Tested up to 4 Bar (60 PSI), equivalent to 40 meters of water depth.
Specimens: Hollow, bullet-shaped prints with a 3mm ASA hull thickness.
Quantification: Waterproofness was quantified precisely by weighing each sample before and after testing (The lower the mass gain, the better).
Key Findings & Next Steps (The Proof)
1. Initial Bricklayer Test (2 Bar)
The first test with default flow settings at 2 Bar (20m) saw slight leakage (only 3ml of water absorbed, and a little audible sloshing). This is 10 times less than the best untreated hull using standard printed layers performed last time
2. The Crucial Optimization (The Hack!)
Inspired by strength testing that Stephan from CNC kitchen did a few months ago, I adjusted the internal perimeter extrusion flow multiplier (testing 1.05 and 1.10) to account for the increased packing efficiency and ensure zero voids.
3. The Definitive Result (4 Bar)
The optimized Bricklayer prints (using ASA, 3mm hull, and both 1.05 and 1.10 extrusion multiplier) achieved NO measurable mass gain at 2 Bar or 4 Bar pressure.
This matches the performance of only the most robust solution tested previously: an epoxy-coated hull. Bricklayers achieve this result solely through slicer settings.
Getting Started (Software Notes)
This technique is rapidly being integrated into mainstream slicers (Bambu Studio, PrusaSlicer). For my testing, I utilized a modified, unsupported community build of Orca Slicer to enable the staggered perimeter feature on my Qidi tech printers (Noting: that includes a number of additional modification to the core build). Users should check their specific slicer's latest features.
This is a game-changer for FDM applications requiring reliable weather- or waterproofing.
🔗 Links & Resources
➡️ Watch the Previous Video: See how all other materials, settings, and coatings performed in the original waterproof test!
➡️ Download Orca Slicer (Modified Build): If you want to try the Brick layer feature now (Use at your own risk!) Note: This also includes other Mods in addition to Staggered perimeters.
➡️ CNC Kitchen's Brick Layers Strength Test: See Stefan's excellent video on how Bricklayers improve strength (the original inspiration!):
Testing results for water uptake at different water pressures